クラウドサイン連携について
■目次
クラウドサイン連携とは連携を行える条件formrun側のプランクラウドサイン側のプランクラウドサイン連携の手順1. インストール2. 契約3. チームとクラウドサインを連携する3. フォームとクラウドサインを連携する(項目マッピング)クラウドサイン側の設定formrun側の設定注意点
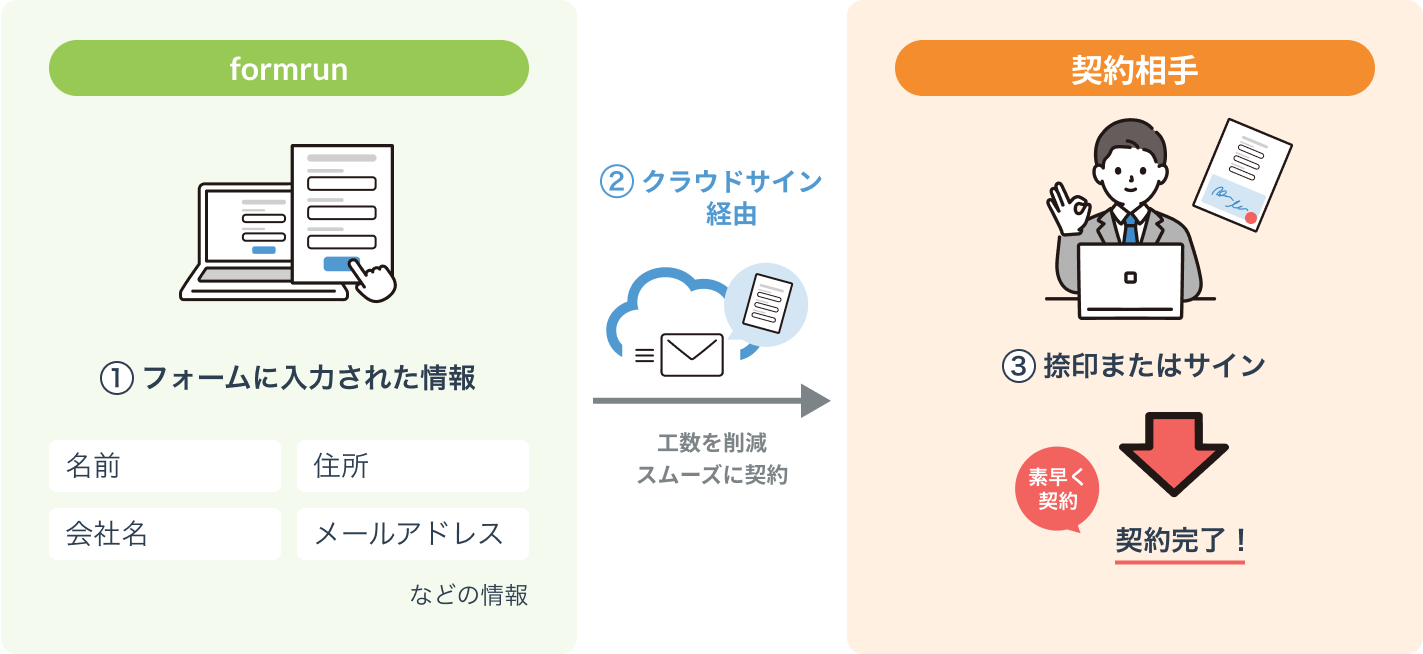
クラウドサイン連携とは
formrunのフォームへの回答内容をクラウドサインの契約書に自動で転記したり、契約書を自動で送付したりできる機能です。
連携を行える条件
formrun側のプラン
FREEプランを含む全てのプラン
※ただし、クラウドサイン連携の利用には、1フォームあたり¥2,480/月(税抜)が発生します。
有料プランの14日間の無料トライアルで使用感をお試しいただくことも可能です。
※まだ無料登録がお済みでない場合は、上記リンクからトライアルを開始できます。
※すでにアカウントをお持ちの方は、プロダクト内のプラン変更画面からトライアルを開始してください。
formrunの権限
| 権限 | |
| 連携 | チーム管理者・チームオーナー |
| 解除 | チーム管理者・チームオーナー |
クラウドサイン側のプラン
Corporateプラン/Businessプラン/Enterpriseプラン
クラウドサイン連携の手順
1. インストール
アプリ画面より、クラウドサイン連携の「インストール」をクリックします。
2. 契約
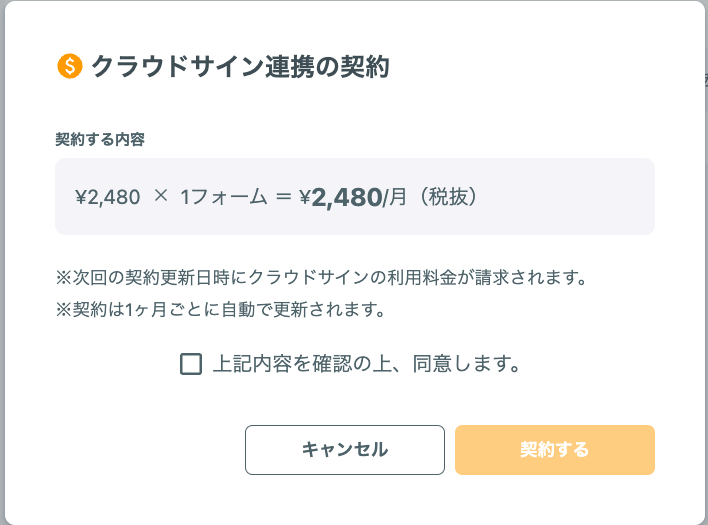
- 「契約する」をクリックする
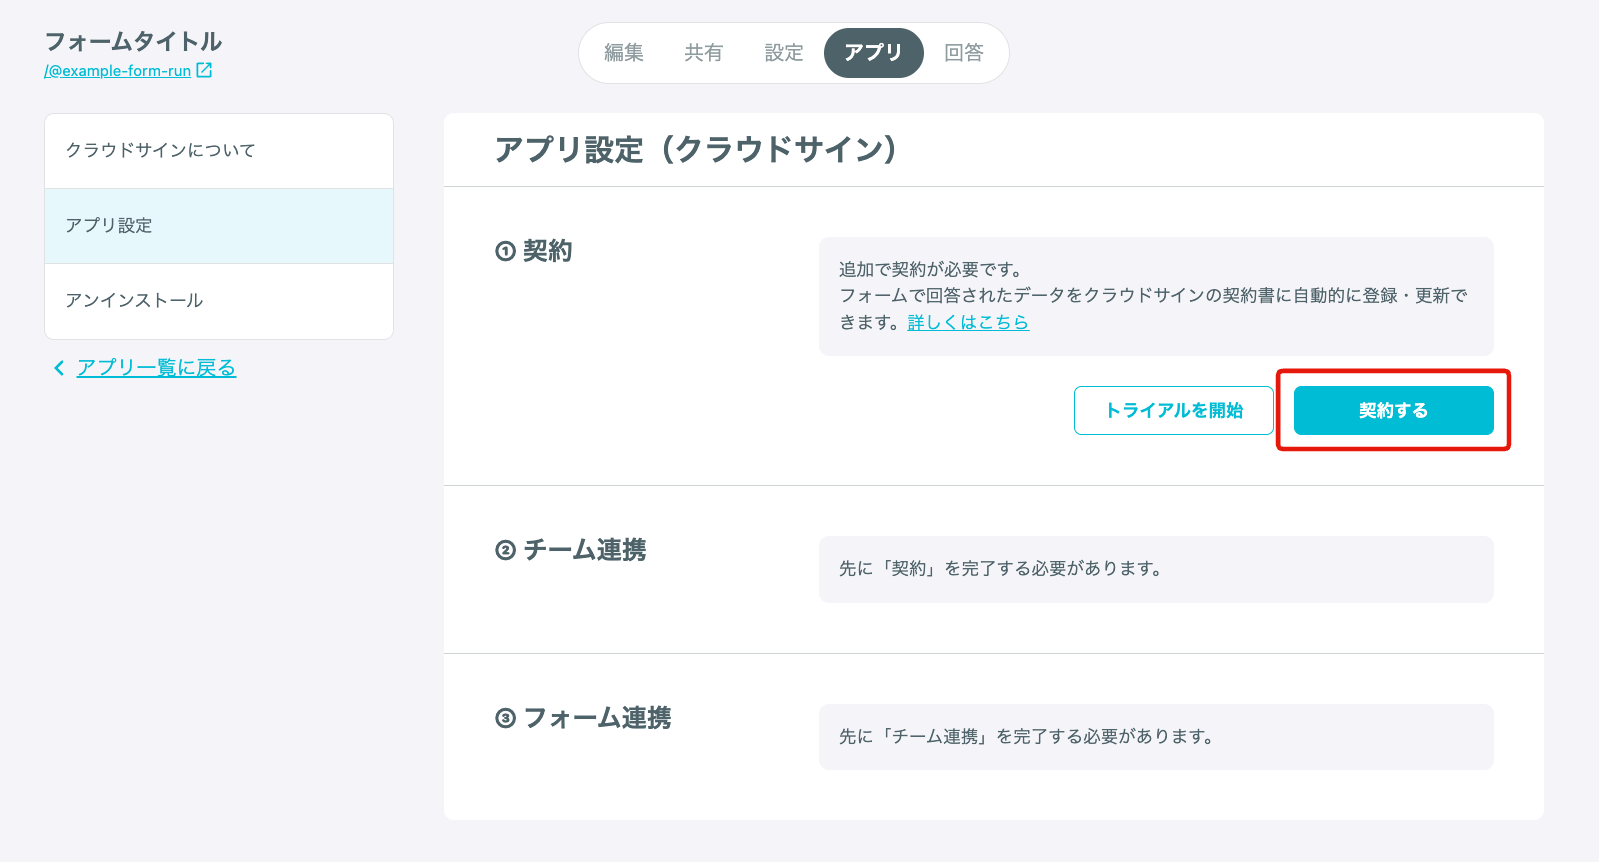
- 記載内容を確認し、表示されている金額が月ごとの支払いに加算されることに同意のうえ、「契約する」をクリックする
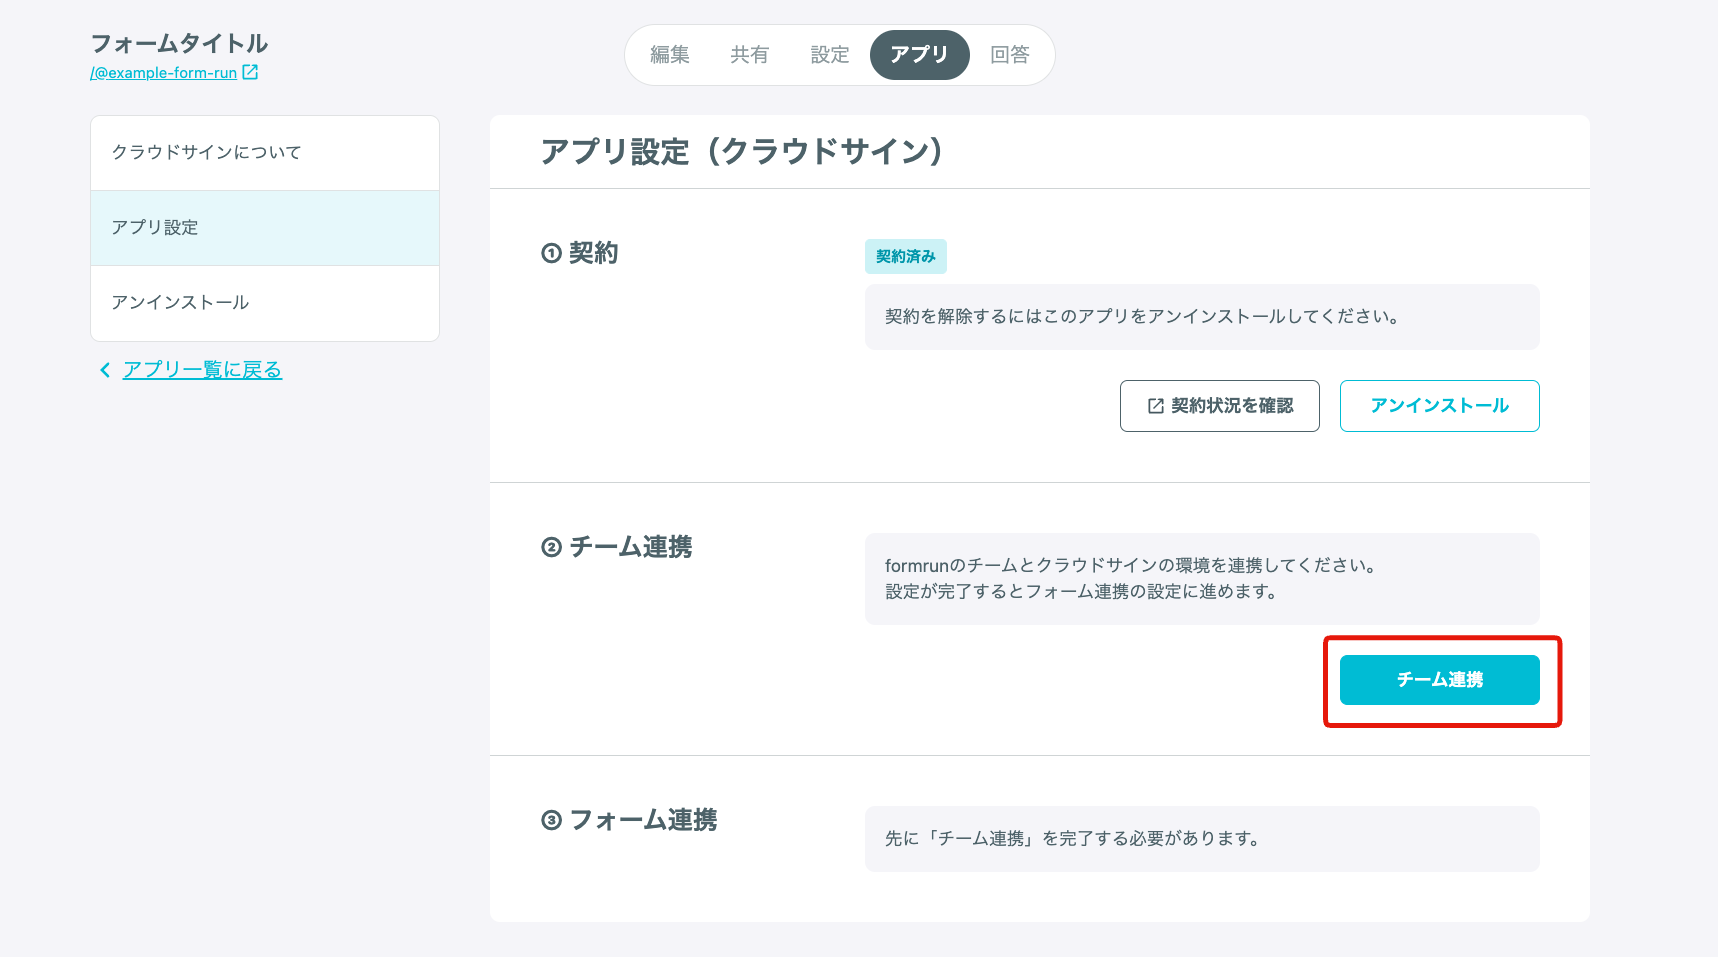
3. チームとクラウドサインを連携する
- アプリ設定画面より「チーム連携」をクリックする
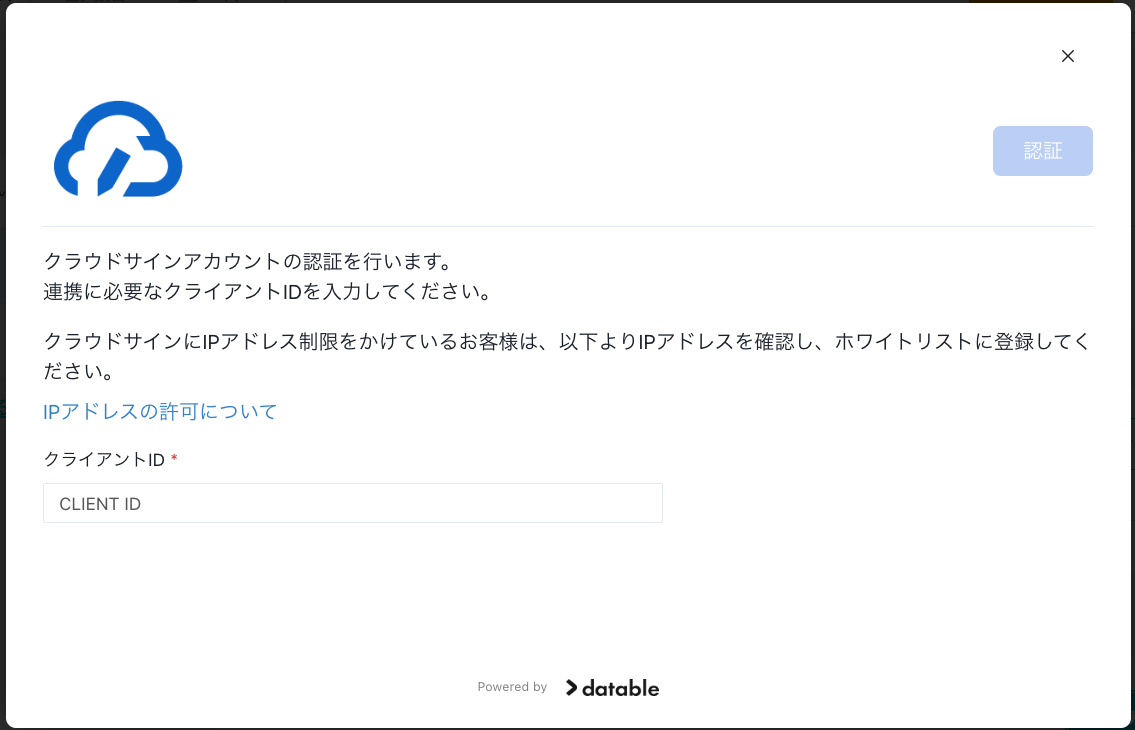
- クライアントIDの入力が必要になるため、クラウドサインにログインする
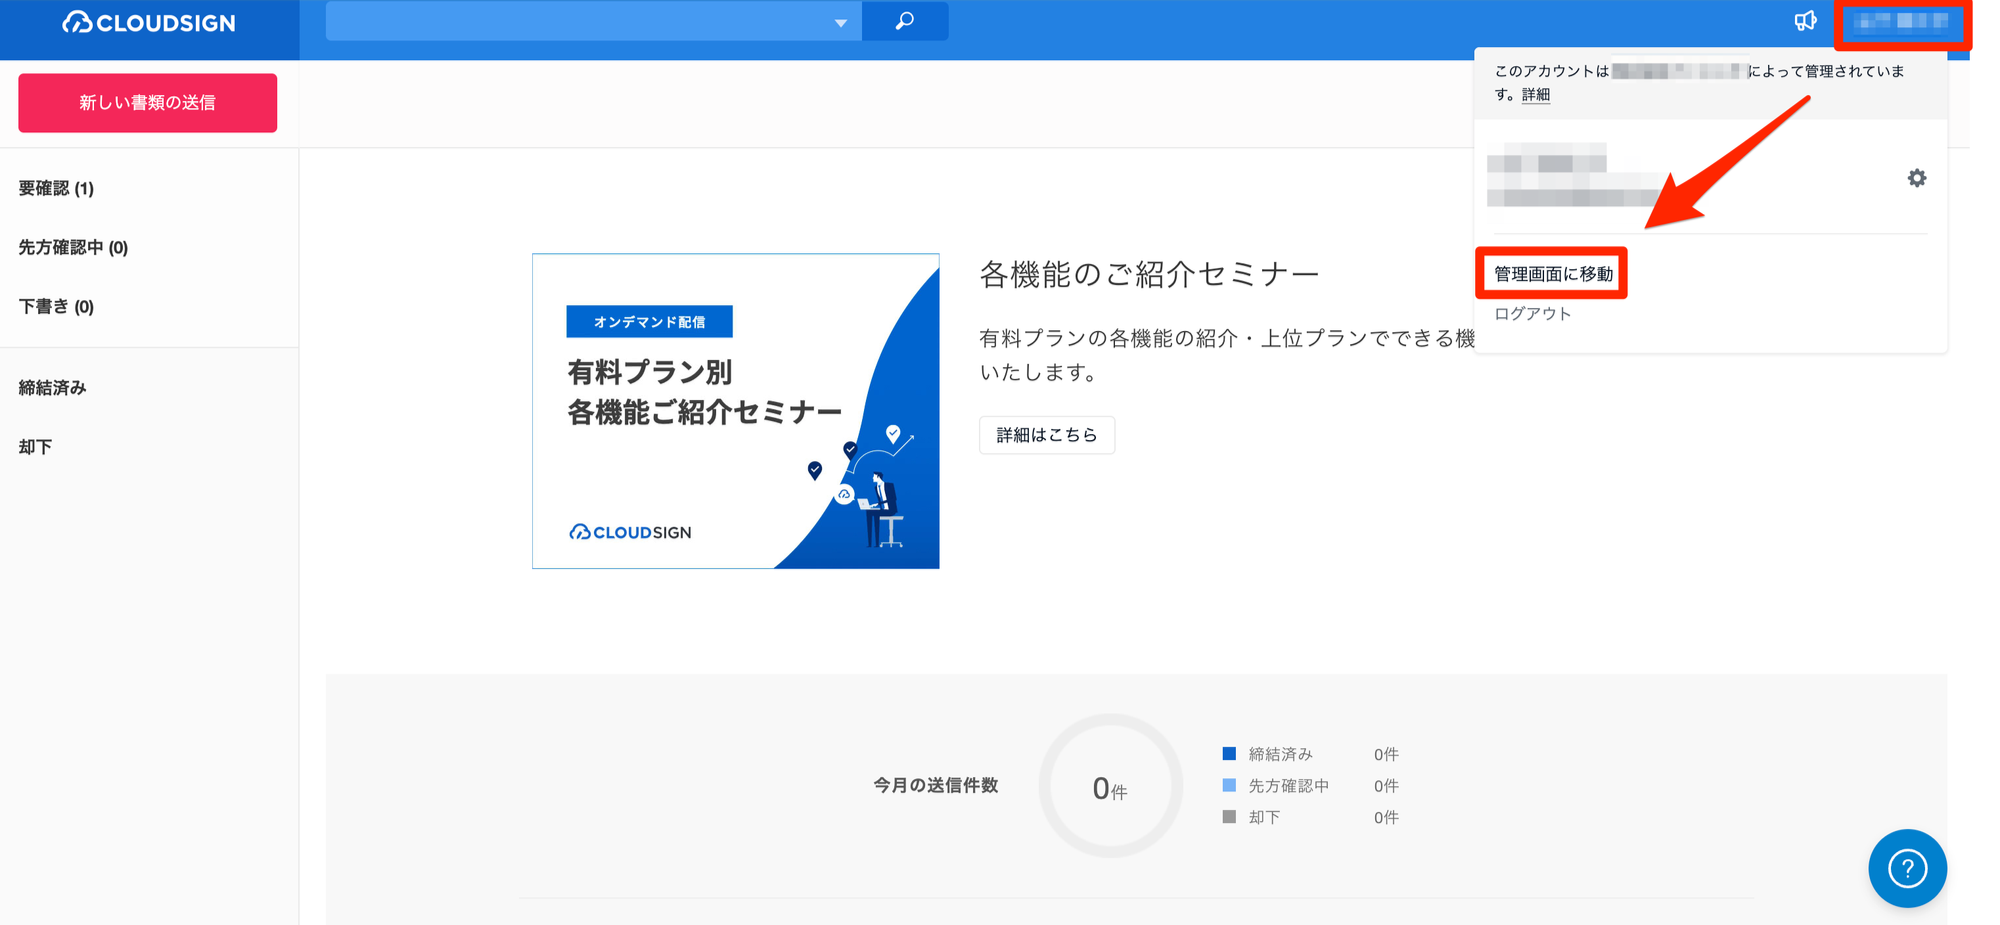
- クラウドサインの画面で、右上のユーザー名から「管理画面に移動」をクリックする
- 左メニューの「クライアントID」をクリックする
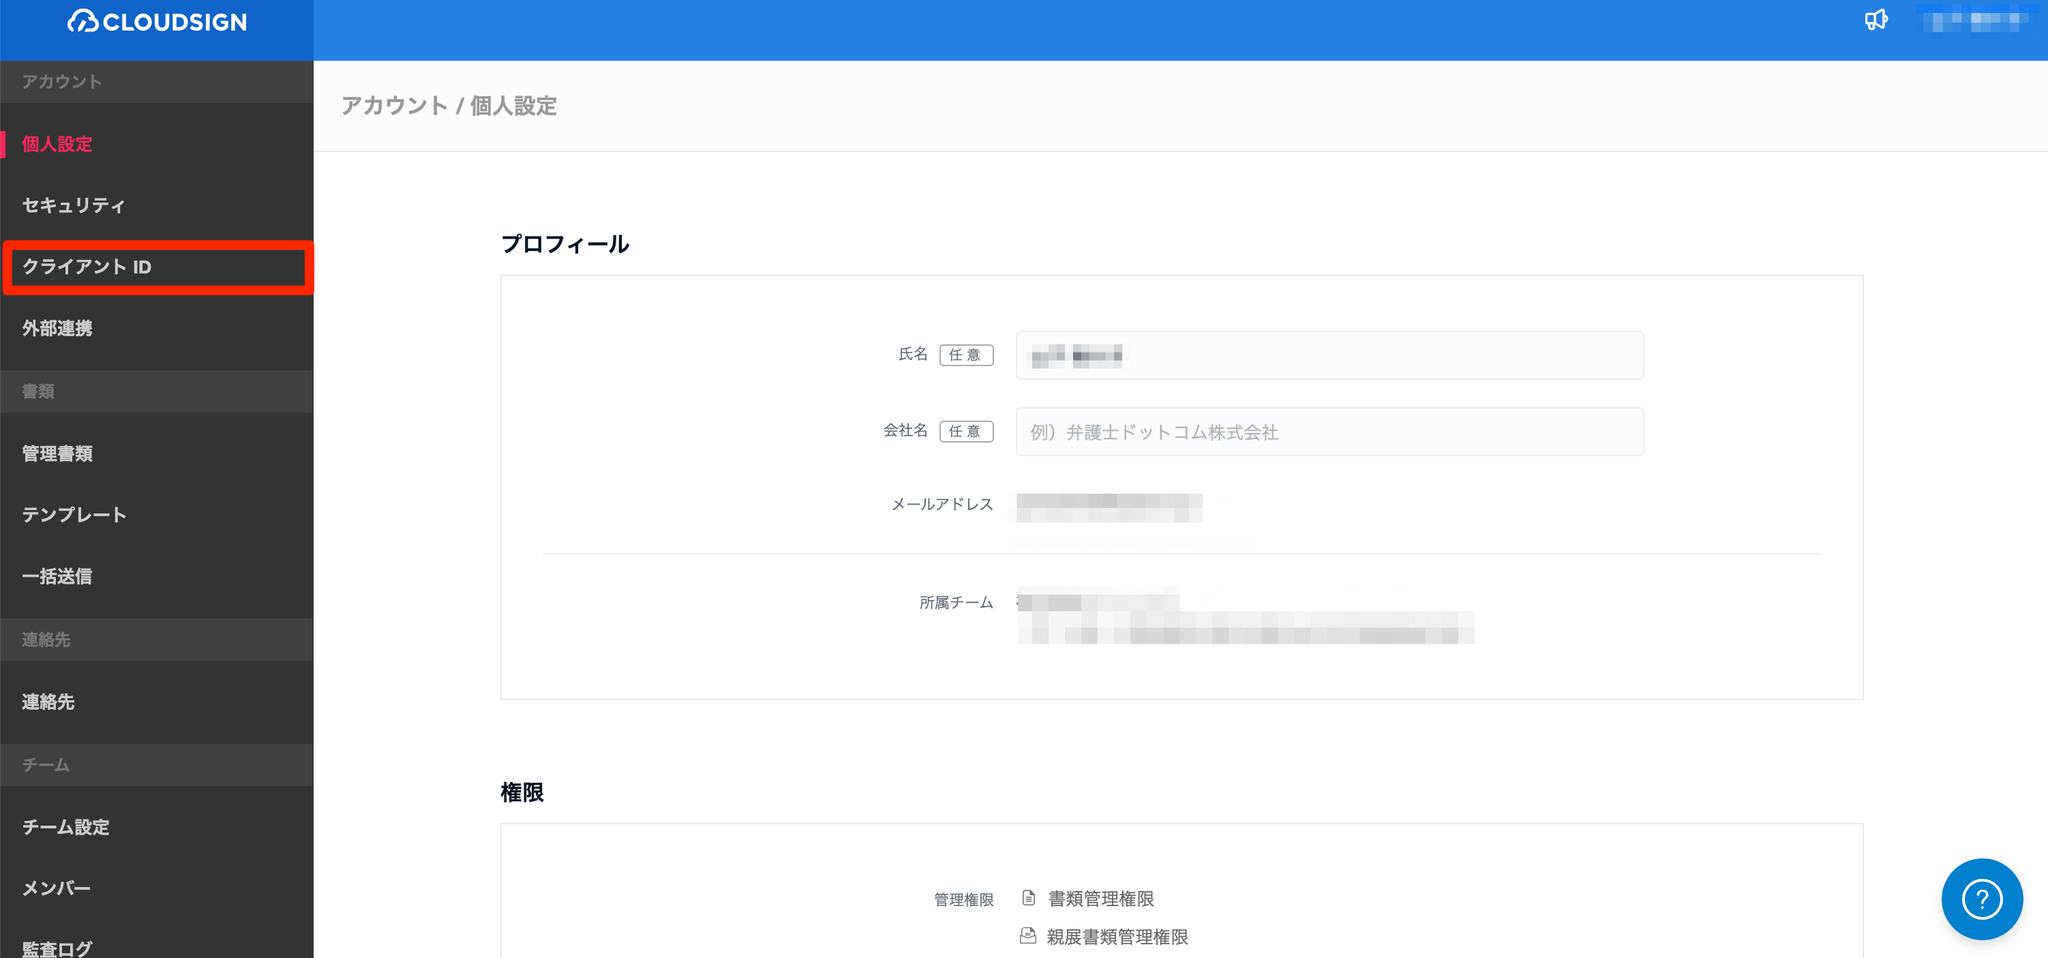
- 「 新しいクライアントIDを発行する」からクライアントIDを発行し、コピーする

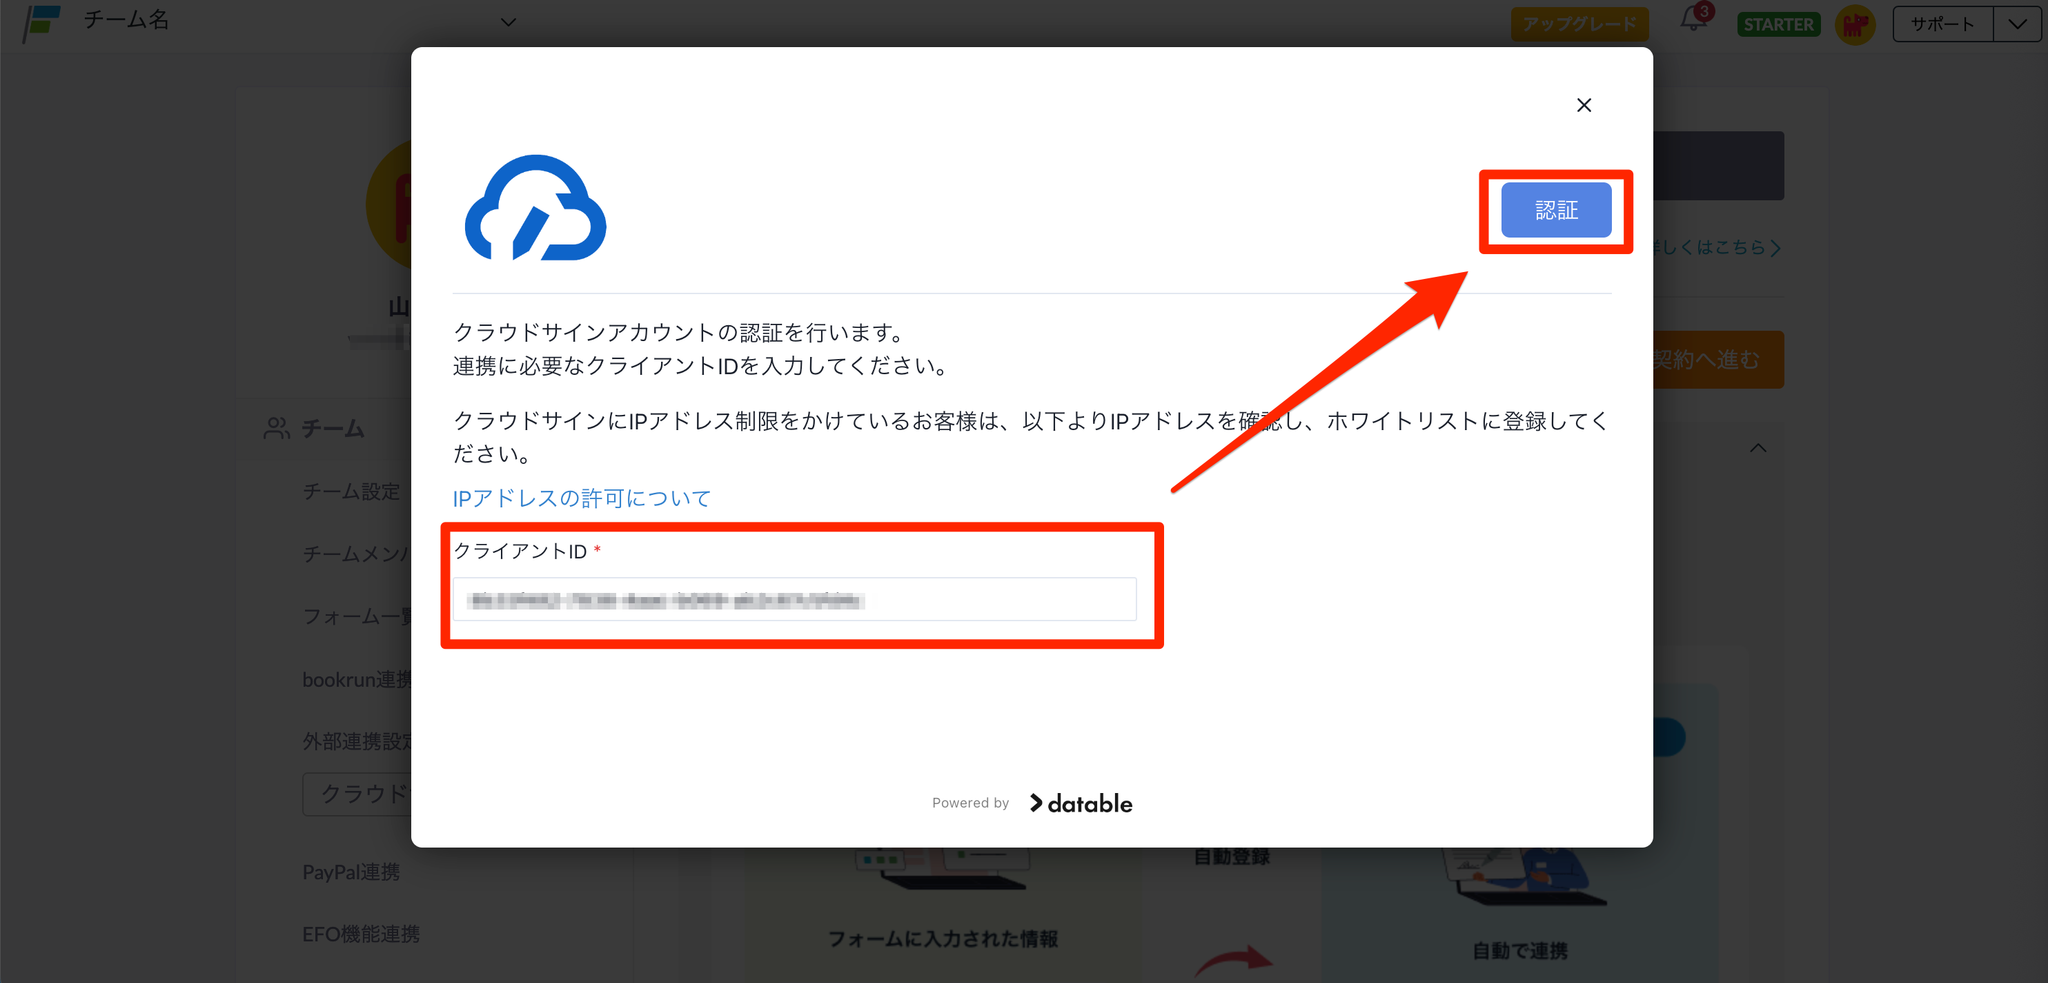
- formrunの画面に戻り、クライアントIDを貼り付け、「認証」をクリックする
3. フォームとクラウドサインを連携する(項目マッピング)
クラウドサイン側の設定
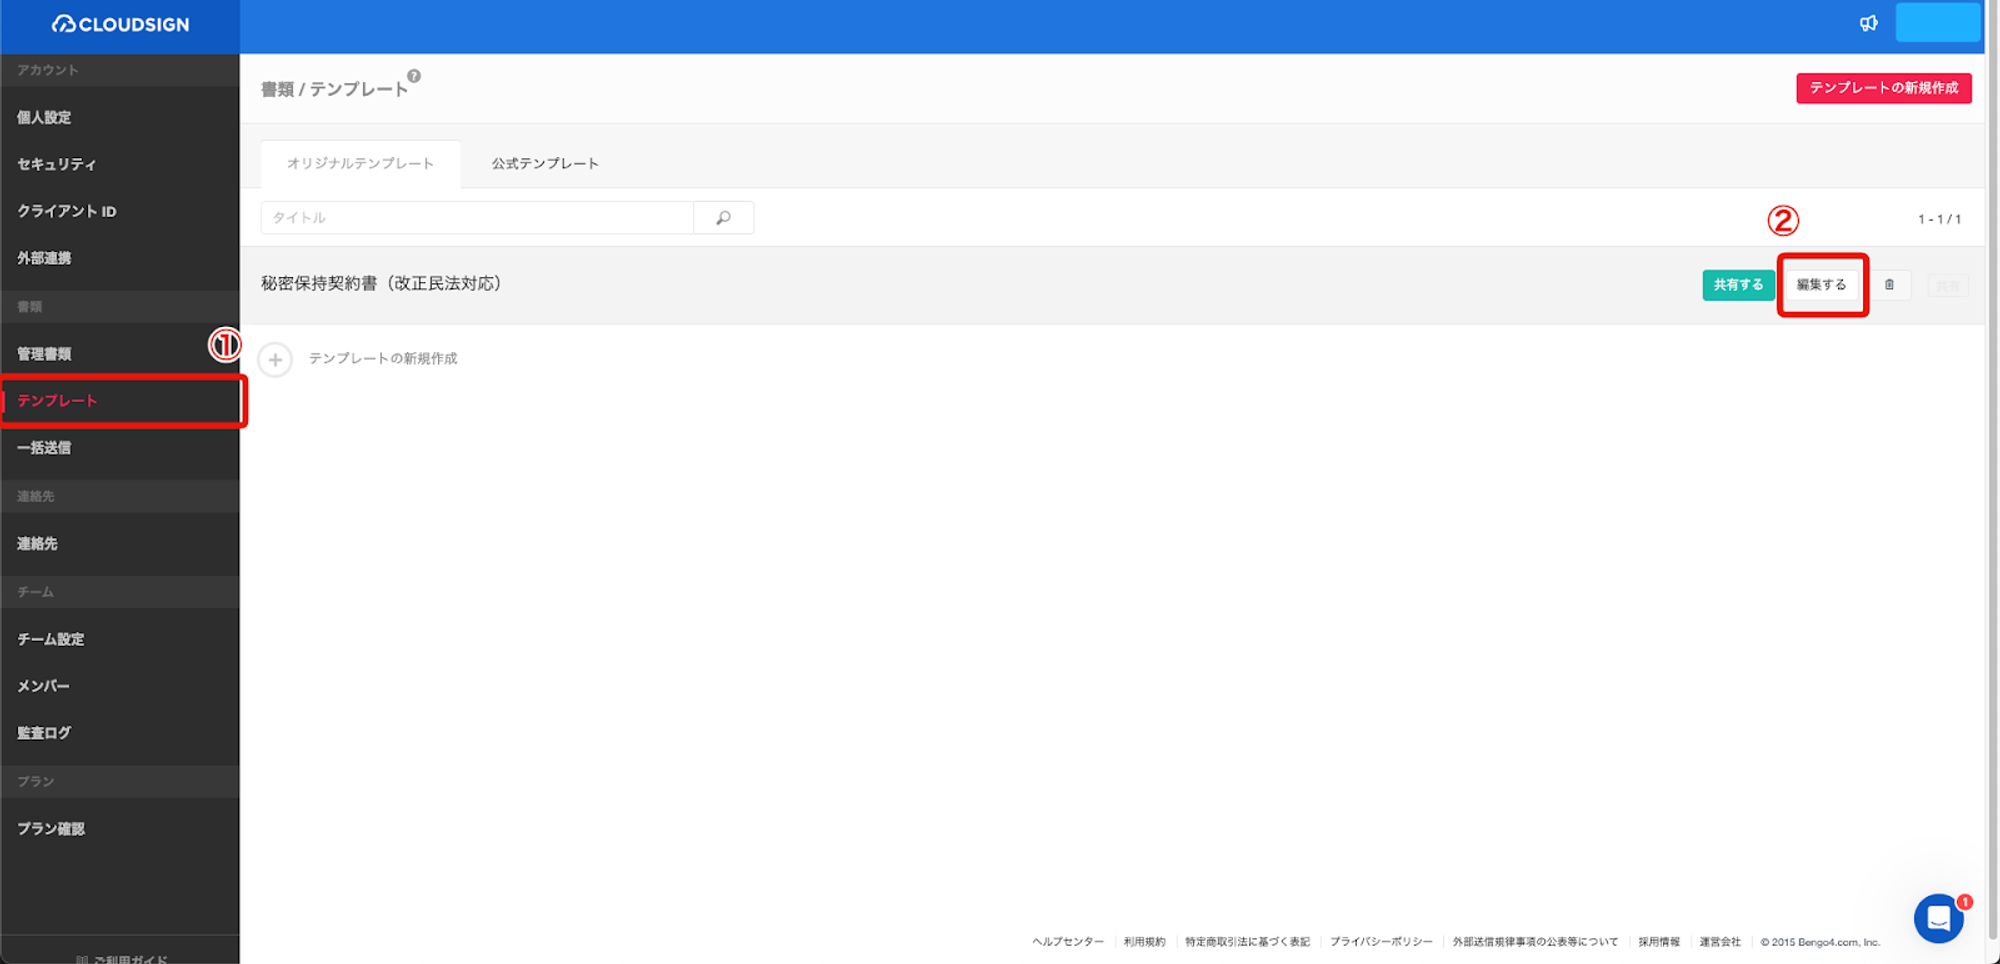
- 管理画面の左メニューより「テンプレート」をクリックし、テンプレートの「編集する」をクリックする
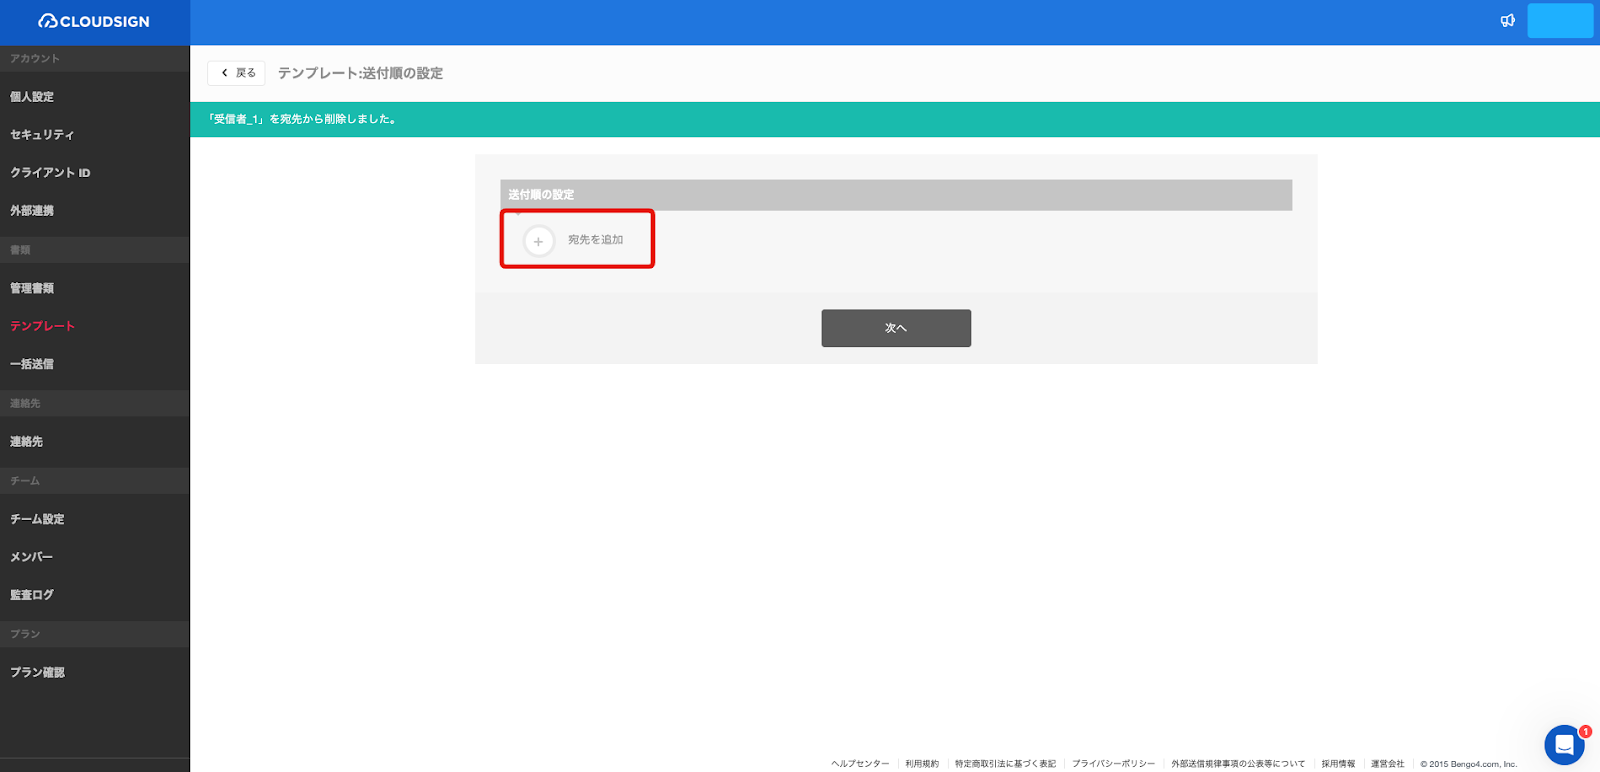
- 送付順の設定で「宛先を追加」をクリックする
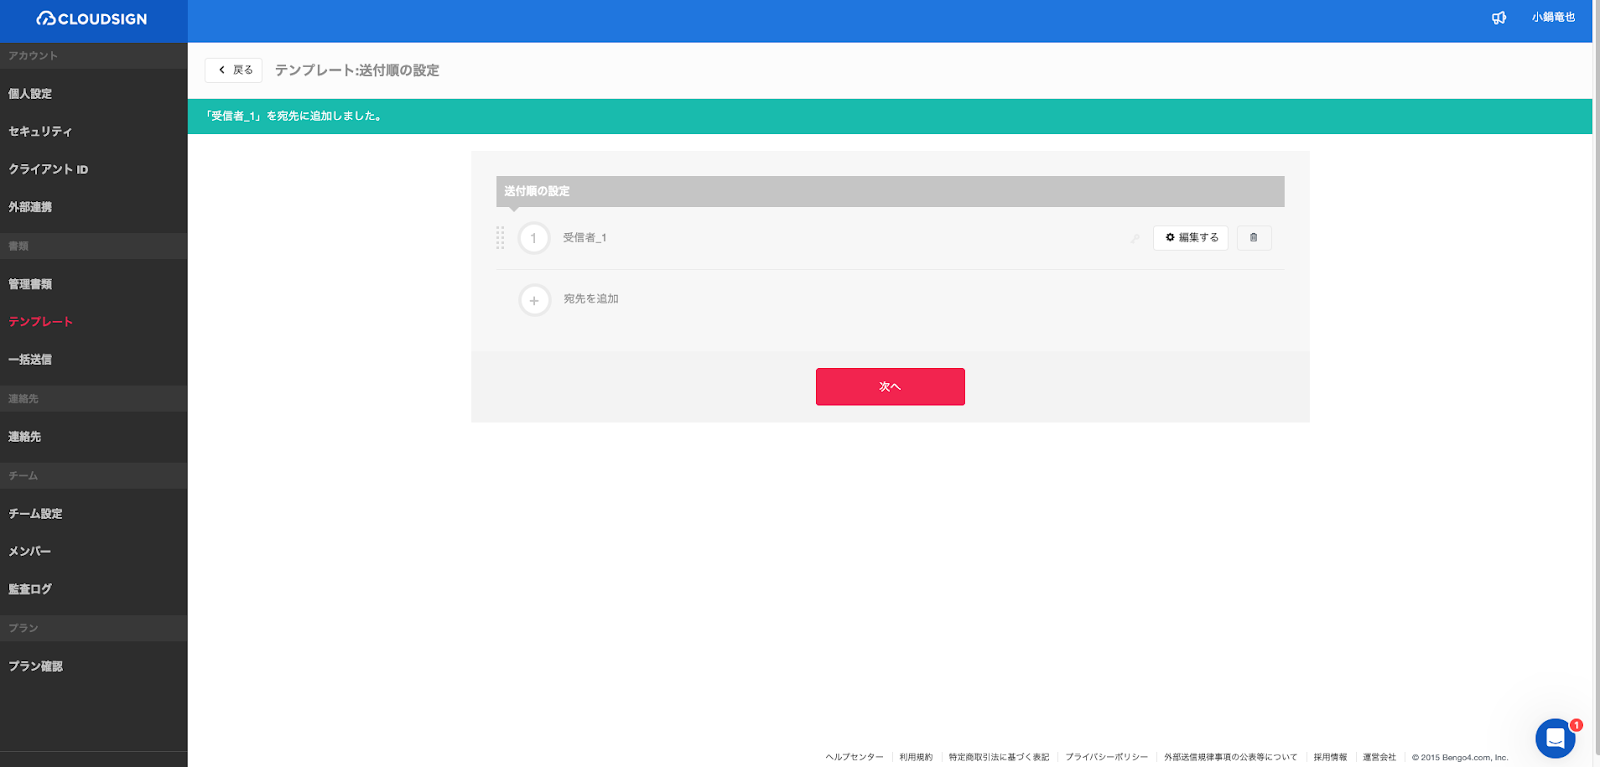
- 「受信者_1」が設定される
formrun側の設定
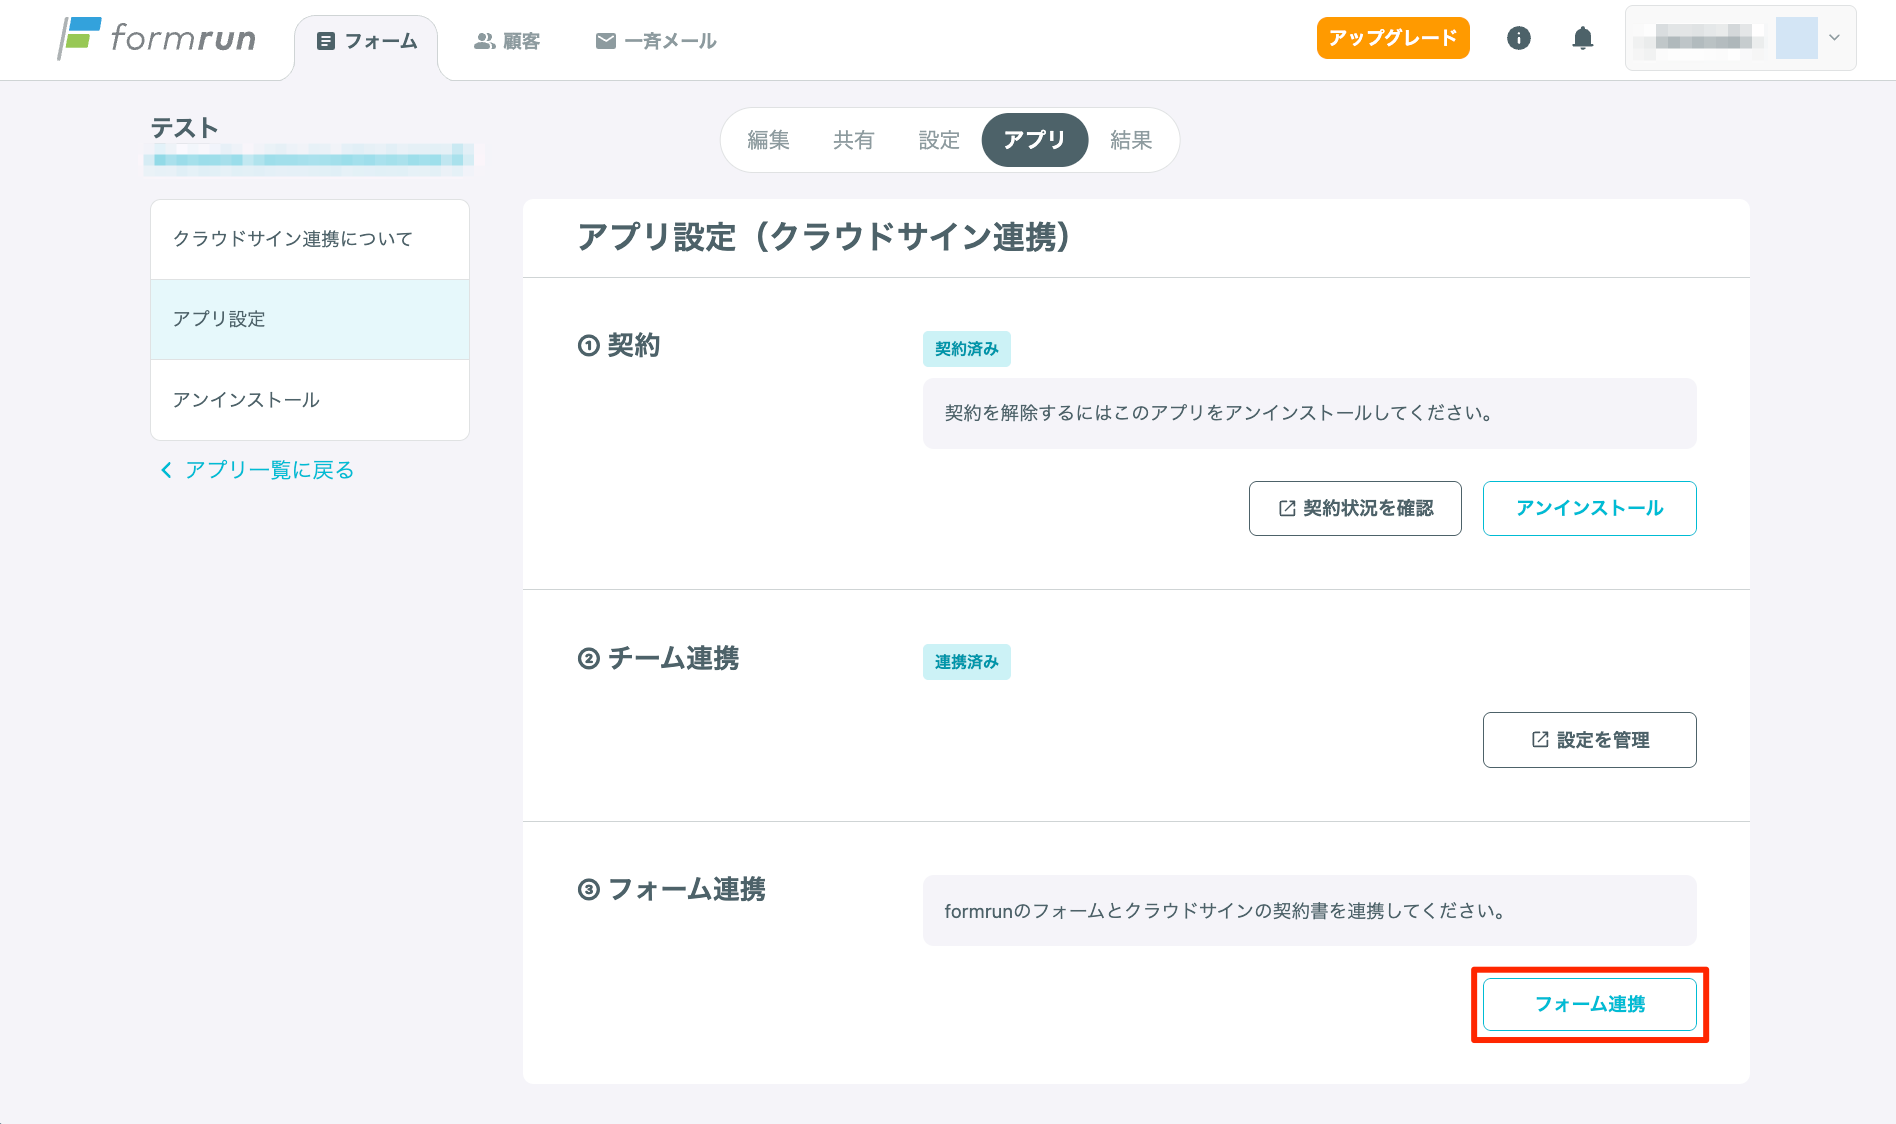
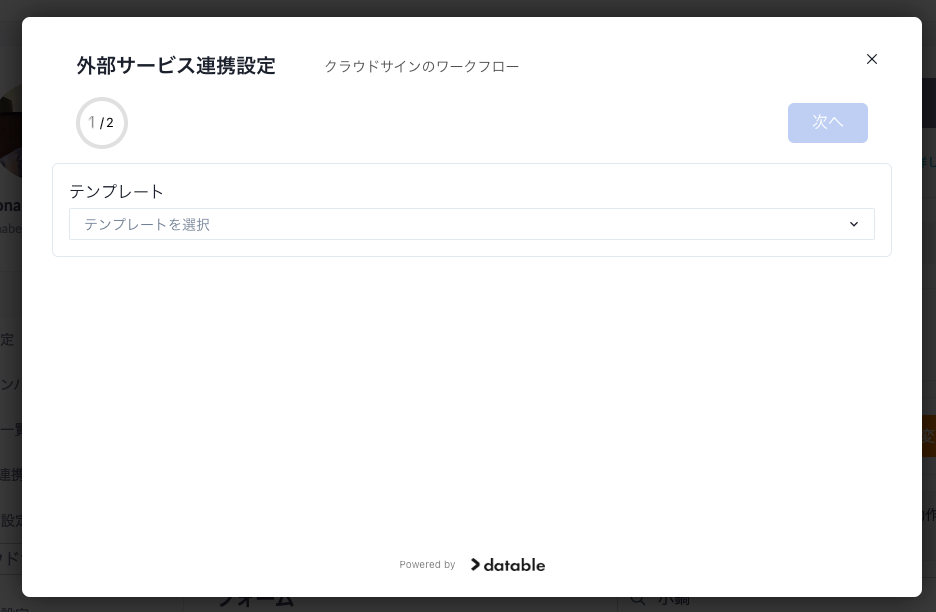
- アプリ設定画面で「フォーム連携」をクリックする
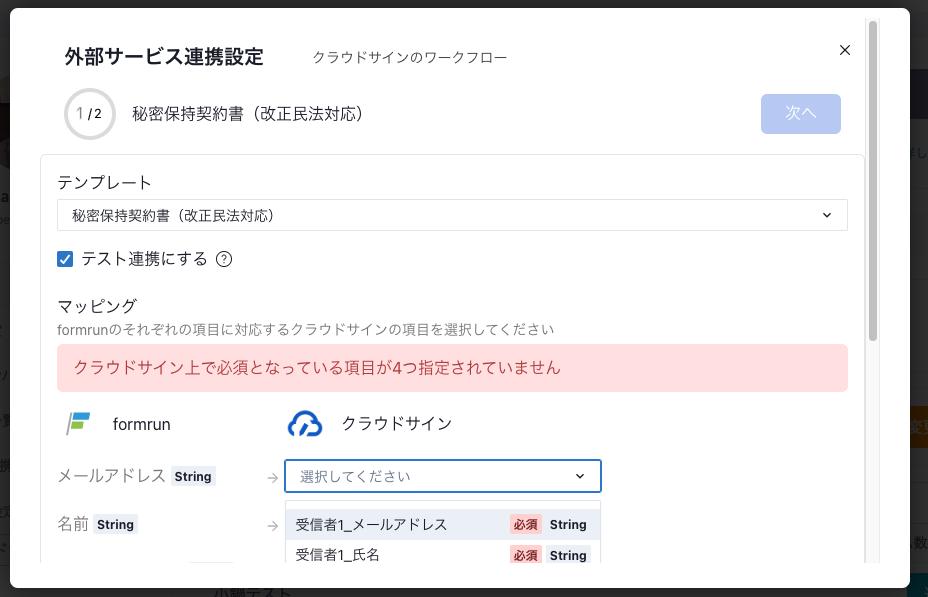
- 連携する契約書テンプレートを選択する
- formrunの項目とクラウドサインの項目を紐づける formrunのメールアドレス項目とクラウドサインの「受信者_メールアドレス」を紐づけると、フォームに入力されたメールアドレスに契約書を自動で送信できます。
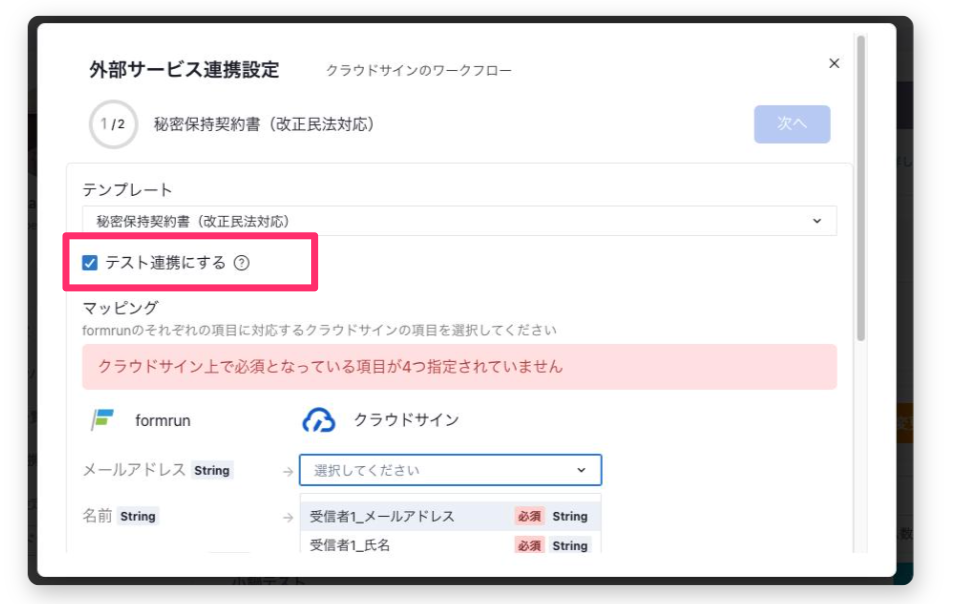
「テスト連携にする」にチェックが入っていると、締結メールが送信されないので注意が必要です。
※ クラウドサインの下書きに残る
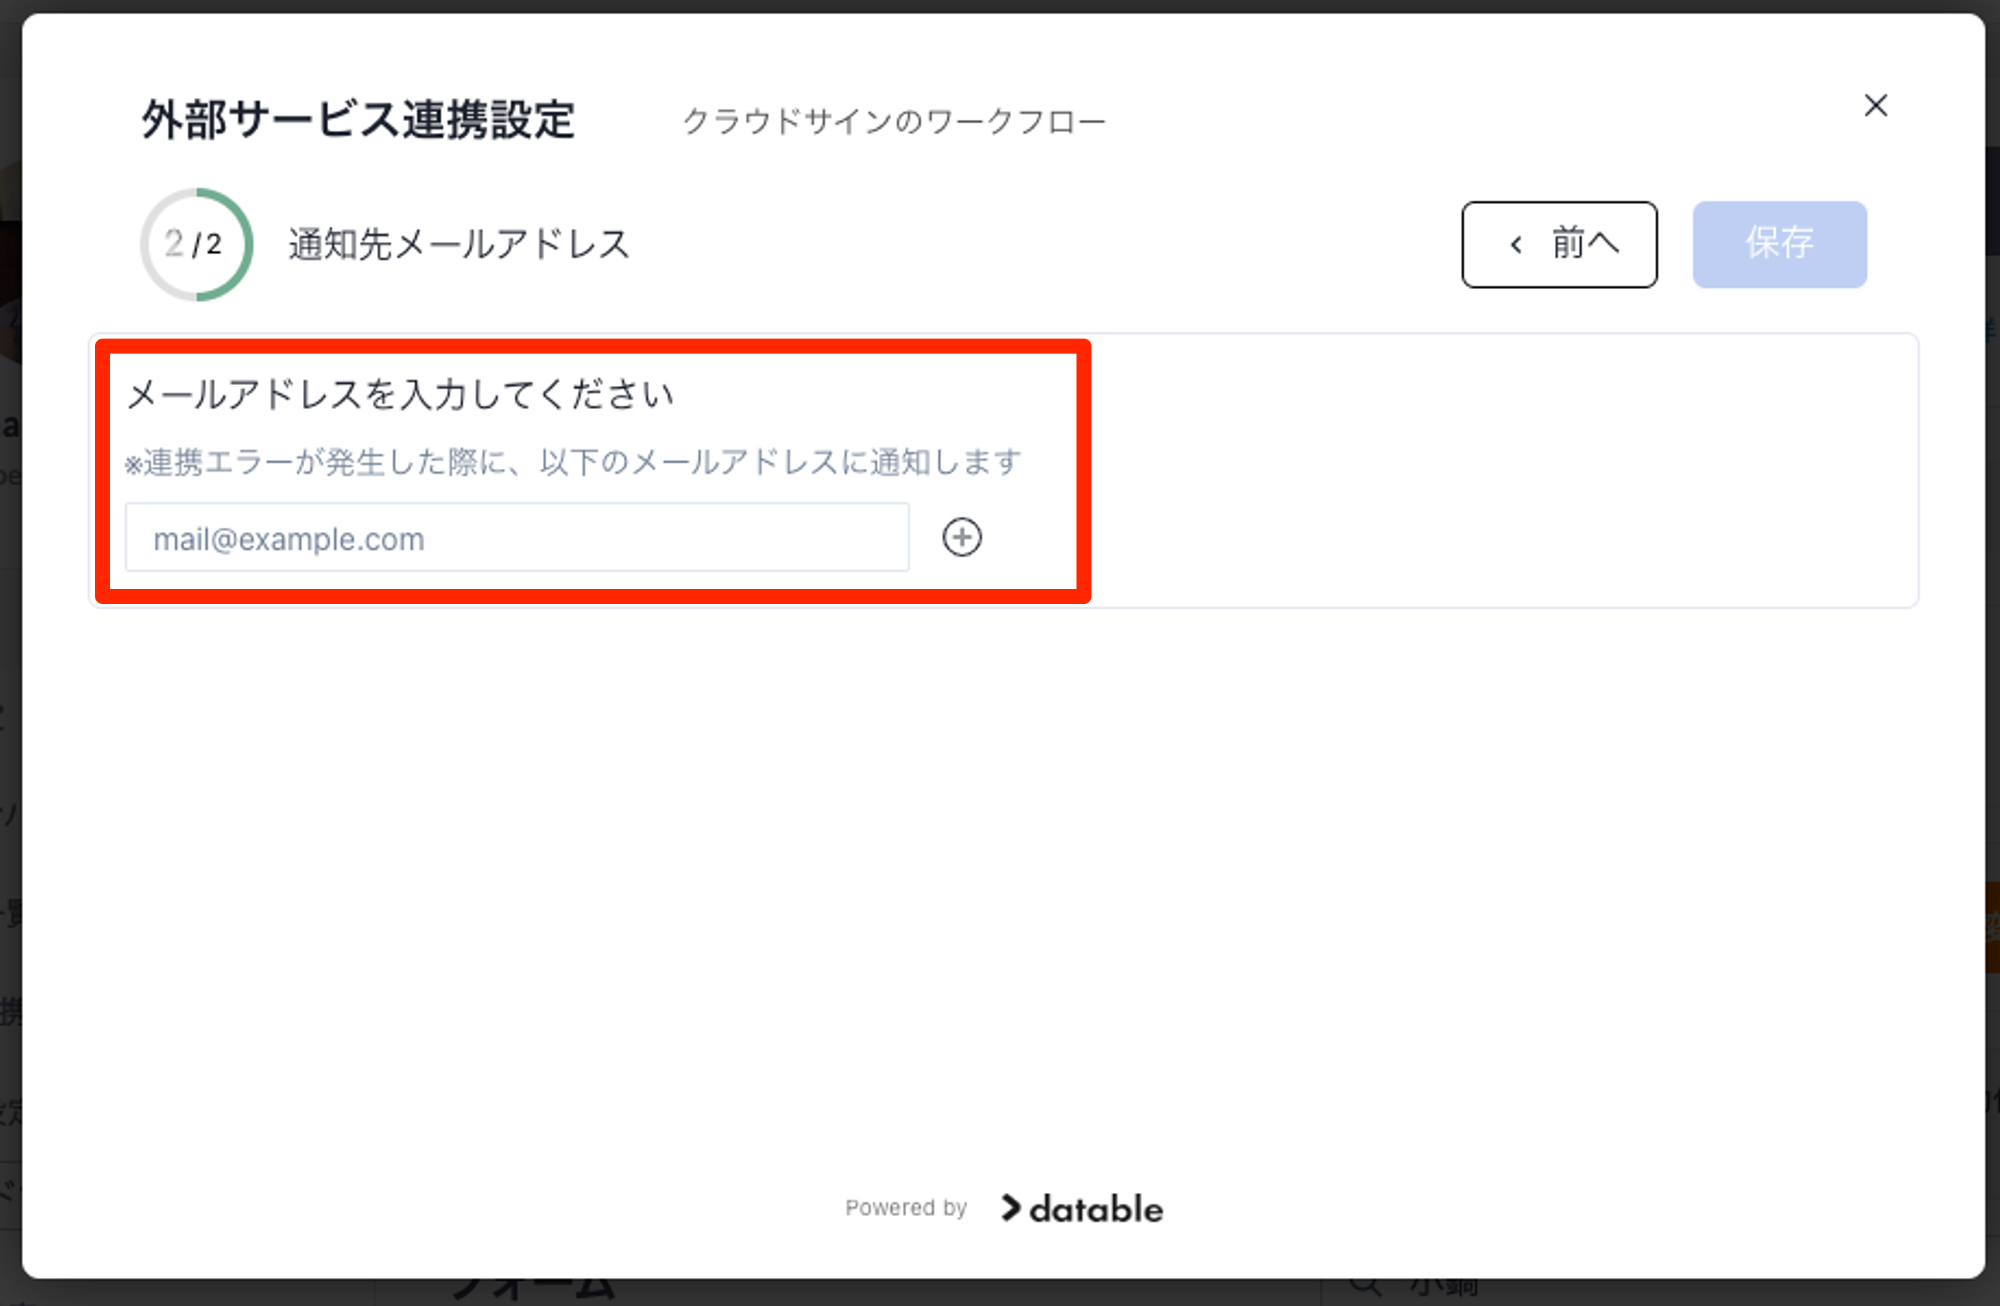
- 連携エラーが発生したときの通知先メールアドレスを入力し、「保存」をクリックする
注意点
チーム連携を解除した場合、連携中のフォームは全て連携が解除されます。一度解約すると取り消しや復元は出来ませんのでご注意ください。
関連ページ