-1.png?height=120&name=formrun_logo%20(3)-1.png)
The "data fields" of a code-type form.
Initial Registration of Data Fields
You can access the data field settings by navigating to the settings page, "Data Management > Data Field Settings."
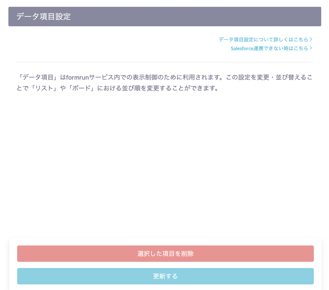
In the case of a code-type form, when you first create a form, data fields are not displayed in the "Data Field Settings" by default.
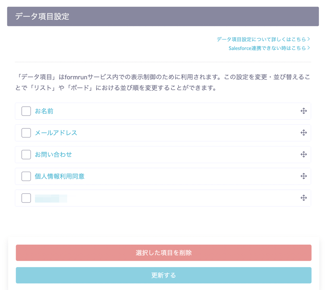
Therefore, to reflect form fields in the "Data Field Settings," you need to install the form and submit a form submission.
When integrating with Salesforce, please check in advance whether data fields are reflected and configure accordingly.
Also, please note that after the initial registration of data fields, if you add fields to the form, you will need to submit form submissions each time to reflect the data fields.
Data Fields in Initial State Data Fields Reflected After Form Submission
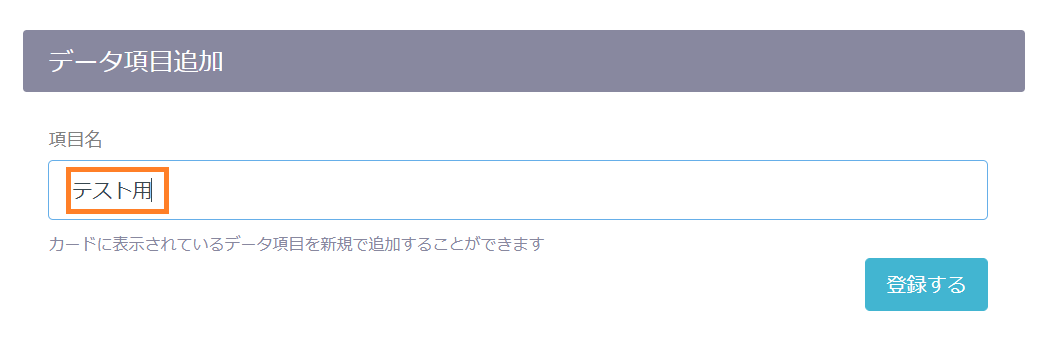
Adding Data Fields
You can add data fields by entering the desired data field name in the "Field Name" input field and clicking the "Register" button in the settings page, "Data Management > Data Field Settings."
Adding data fields allows you to include data fields in board and list card views.
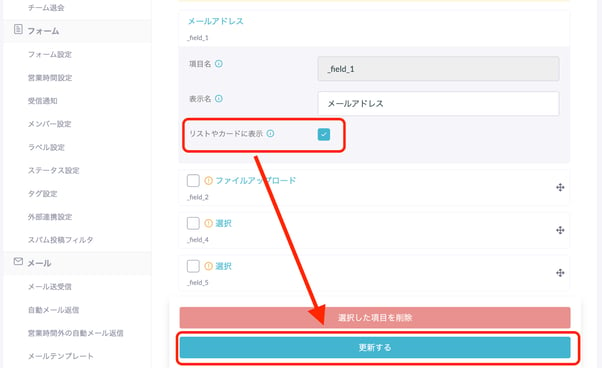
Setting Data Field Visibility on Cards
From the data field settings in the settings page, "Data Management > Data Field Settings," you can toggle the visibility on or off for the fields you want to change by checking the "Display in List or Card" checkbox, and then click "Update" after making changes.
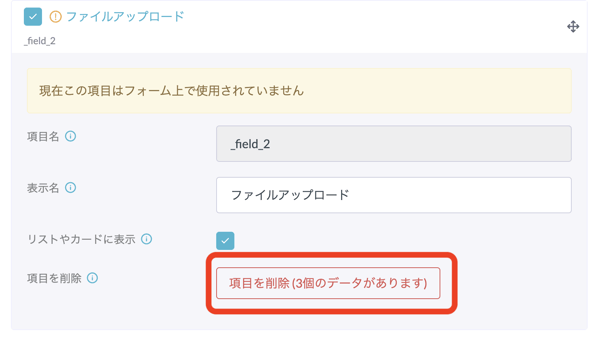
Deleting Data Fields
In the settings page, "Data Management > Data Field Settings > Data Field Settings," you can delete unused data fields.
If there is submission data for the corresponding field, the delete button will indicate "(~ fields have data)," so please confirm accordingly.
Additionally, please be aware that once you delete data fields (_field_ data), they cannot be recovered.
<Deletion Methods>
A) If you want to delete a single field
Click "Delete Field" for the field you want to delete.
B) If you want to delete multiple fields
- Check the checkboxes for each field you want to delete
- Click "Delete Selected Fields" at the bottom of the page
